Services can be set up to manage access requests, provide necessary training, project meetings, provide products or specific services such as analyses of samples. When setting up a new service, it is very important to include an adequately configured form to be able to collect all information needed to provide the service of interest.
Also see:
User guide on service request submission
List of user roles
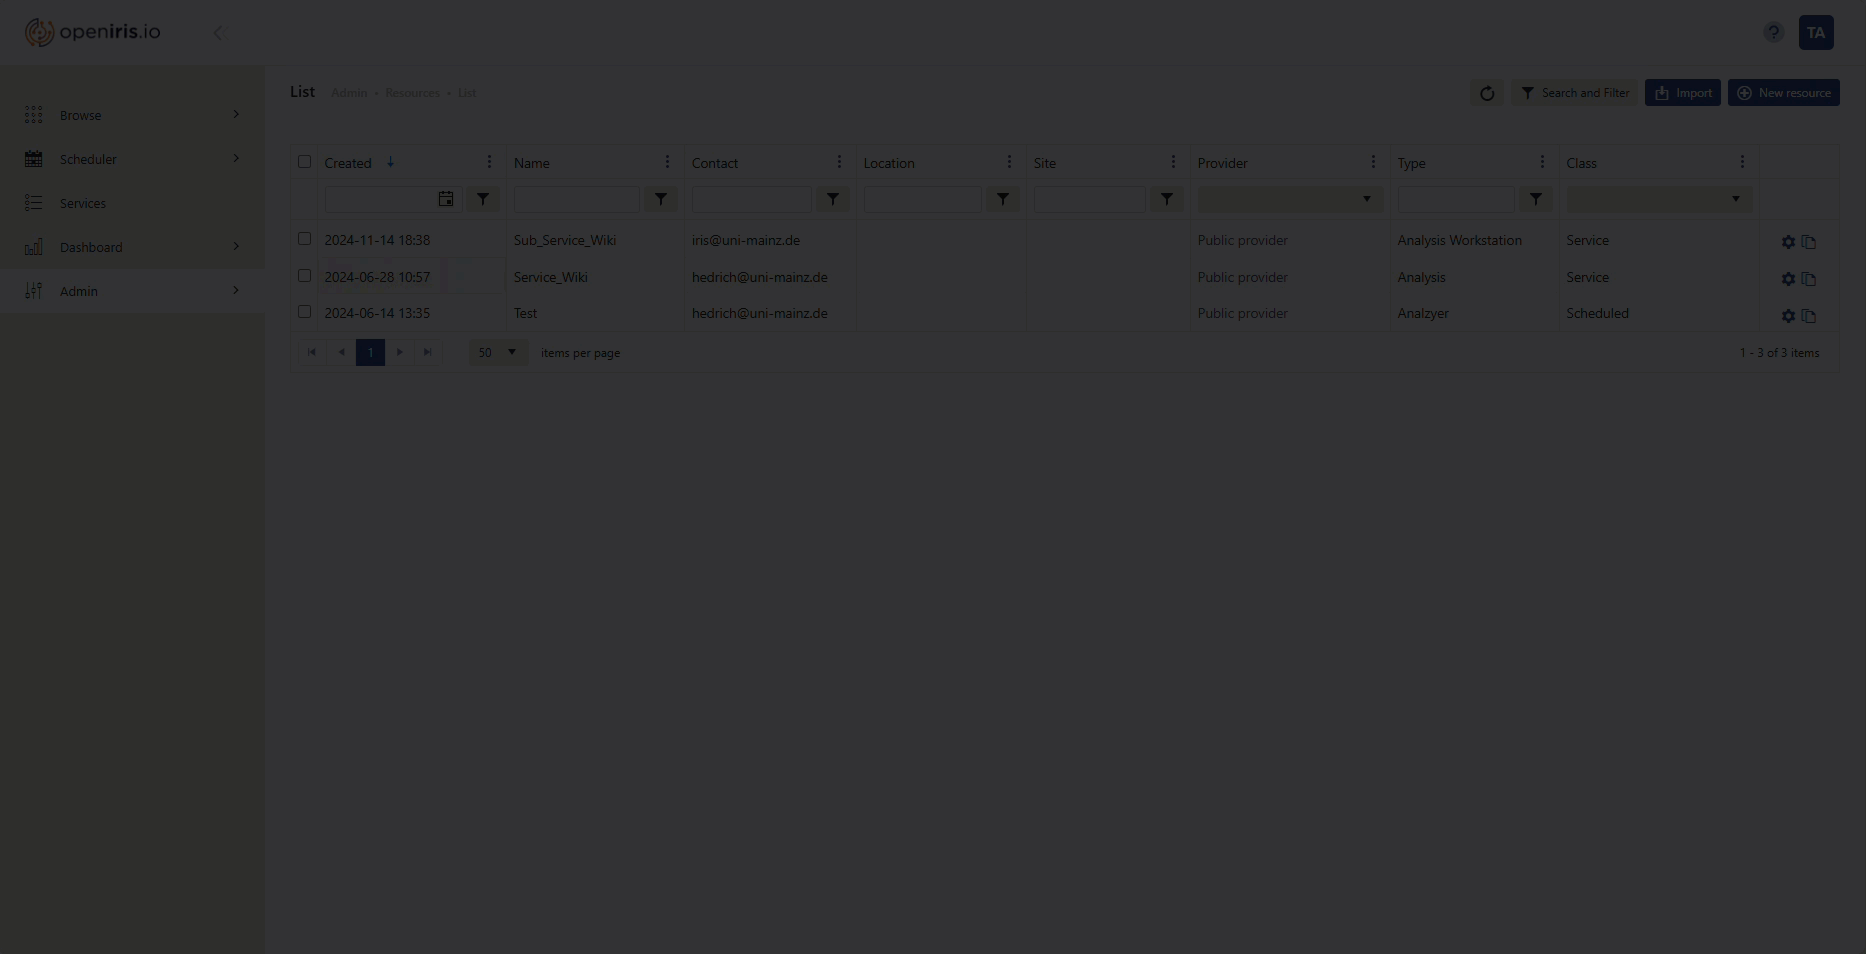
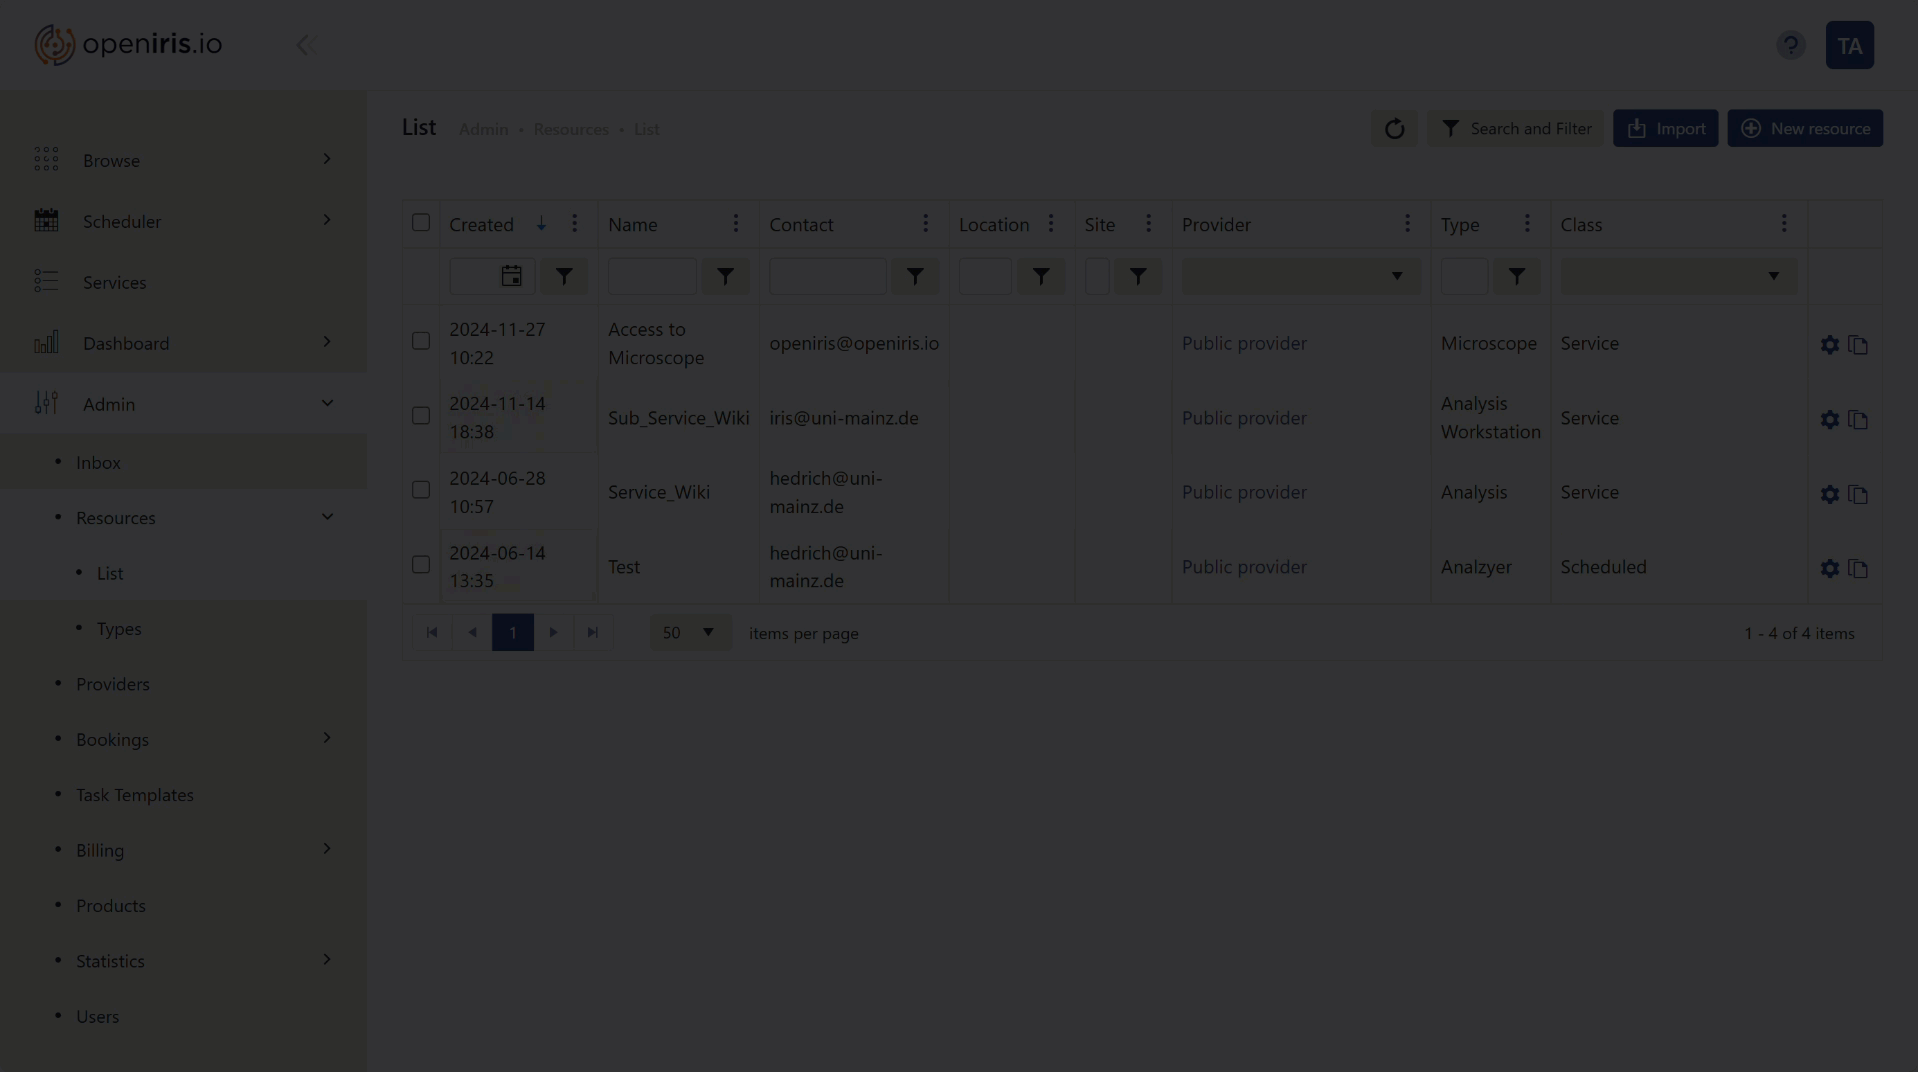
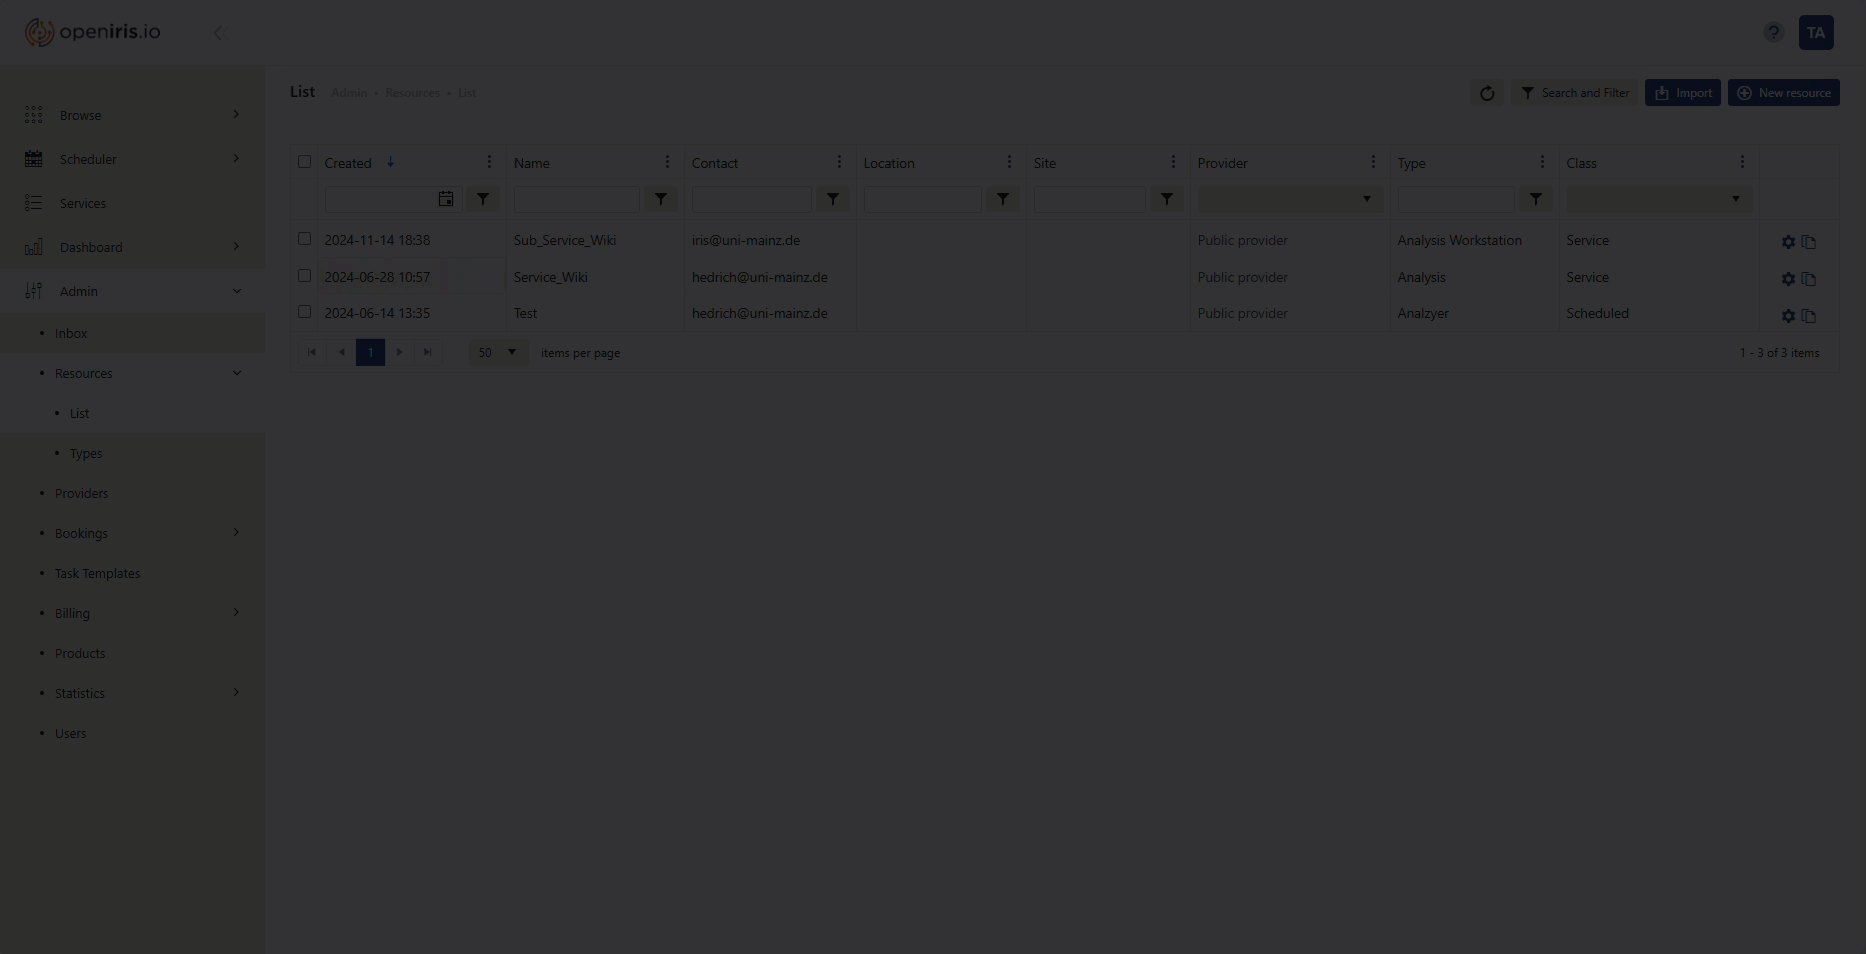
New services can be generated in the Admin (menu) > Resources > List. A more detailed guide on how to configure a new resource can be found here. After a new service is generated, it can then be found under Services (menu). Provider-Admins are then able to further modify the services via the manage (gear) icon on the right hand side of the new service. Additional resource-admins can be added via manage (gear) icon > settings > assign to, to be able to edit the service as well.
 |
|---|
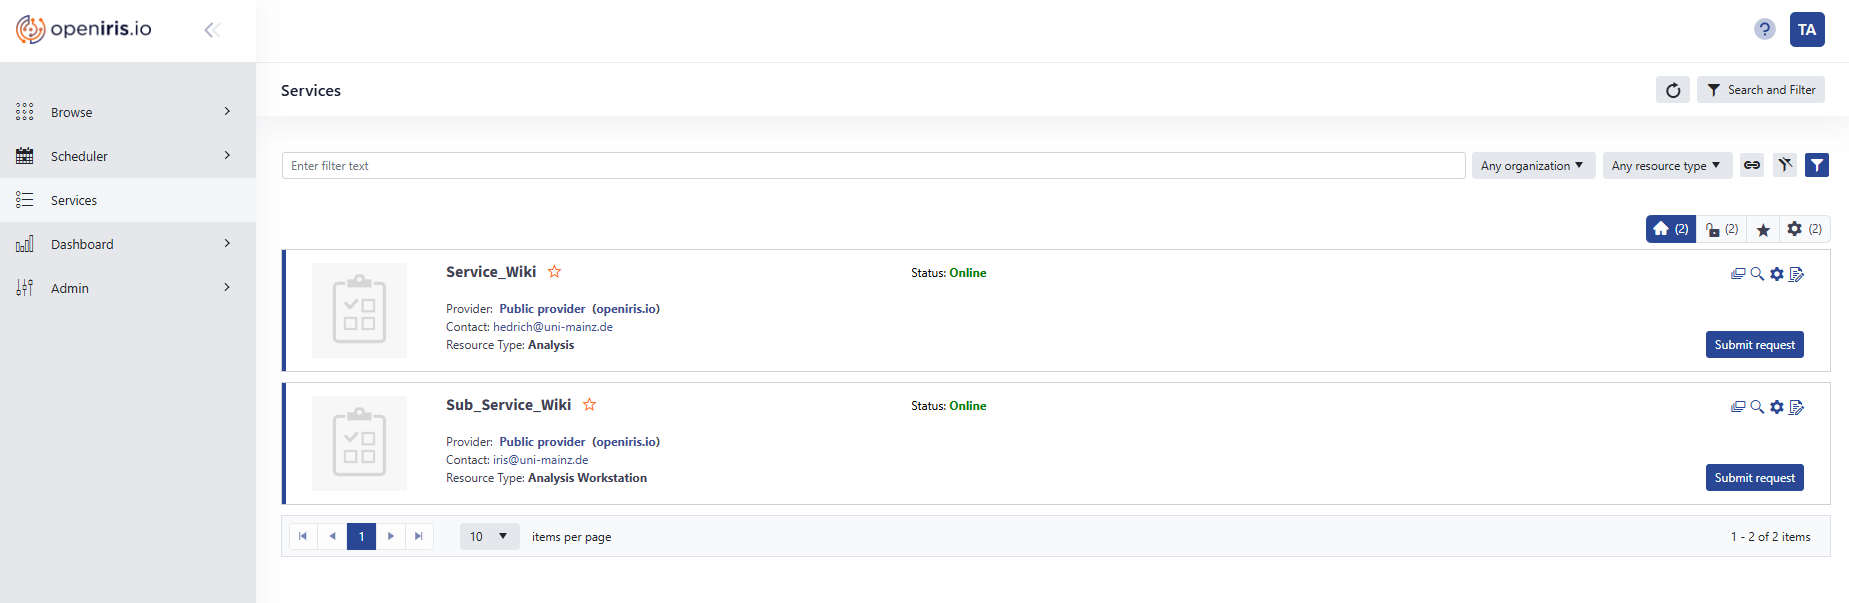
| Accessing services via the Services tab |
 |
|---|
| Accessing services via the Admin Resources tab |
 |
|---|
| Adding a new resource-admin |
¶ Access
Under the access tab, you can add users, groups, or organizations who should be able to see and book your service.
 |
|---|
| Screenshot of the Access tab |
¶ Form
Please see the separate article of how to setup a form sheets and include bookable products here.
¶ Tasks
It is possible to automatically link tasks to approved service requests. Please see the seperate article about "tasks" here.
¶ Approvers
For service requests you are able to add approvers in the service settings, which can be accessed either under
Browse > Resources > Settings (gear) icon > Approvers (tab) > Add Approver (button)
orAdmin > Resources > List > Settings (gear) icon > Approvers (tab) > Add Approver (button)
Here, it is possible to assign Approvers directly to the service. In this case, all new requests have to be approved by the same allocated people. Via the Approvers (tab) > Settings (button), it is also possible to select that the respective group leader should be automatically added as an approver, once a member of his or her team has made a new request.
In these settings, admins also have the option to select whether an e-mail should be sent to the approver directly after a request has been submitted.
Admins can also select to only receive a notification of the request, once the request has been approved.
After a new approver has been added, admins have the option to add a small text in the description field next to the approver's information.
After a request for approval has been sent, it automatically shows up in the Admin (menu) > Inbox. The approver will then receive an e-mail with information concerning the request and can choose to either approve or reject the request.
After a request has been submitted, addtional approvers for the request can be added manually by the provider-admin or resource-admin via the Admin > Inbox > Approvers (tab).
 |
|---|
| Adding service approvers |
¶ Participants
Participants can be added by default or after a request is submitted via the Admin (menu) > Inbox > Participants (sub-tab). Participants can see the form and status of the requests they are added to. If an active request is linked to access rights, participants are also able to book these linked devices.
 |
|---|
| Adding participants to a service |
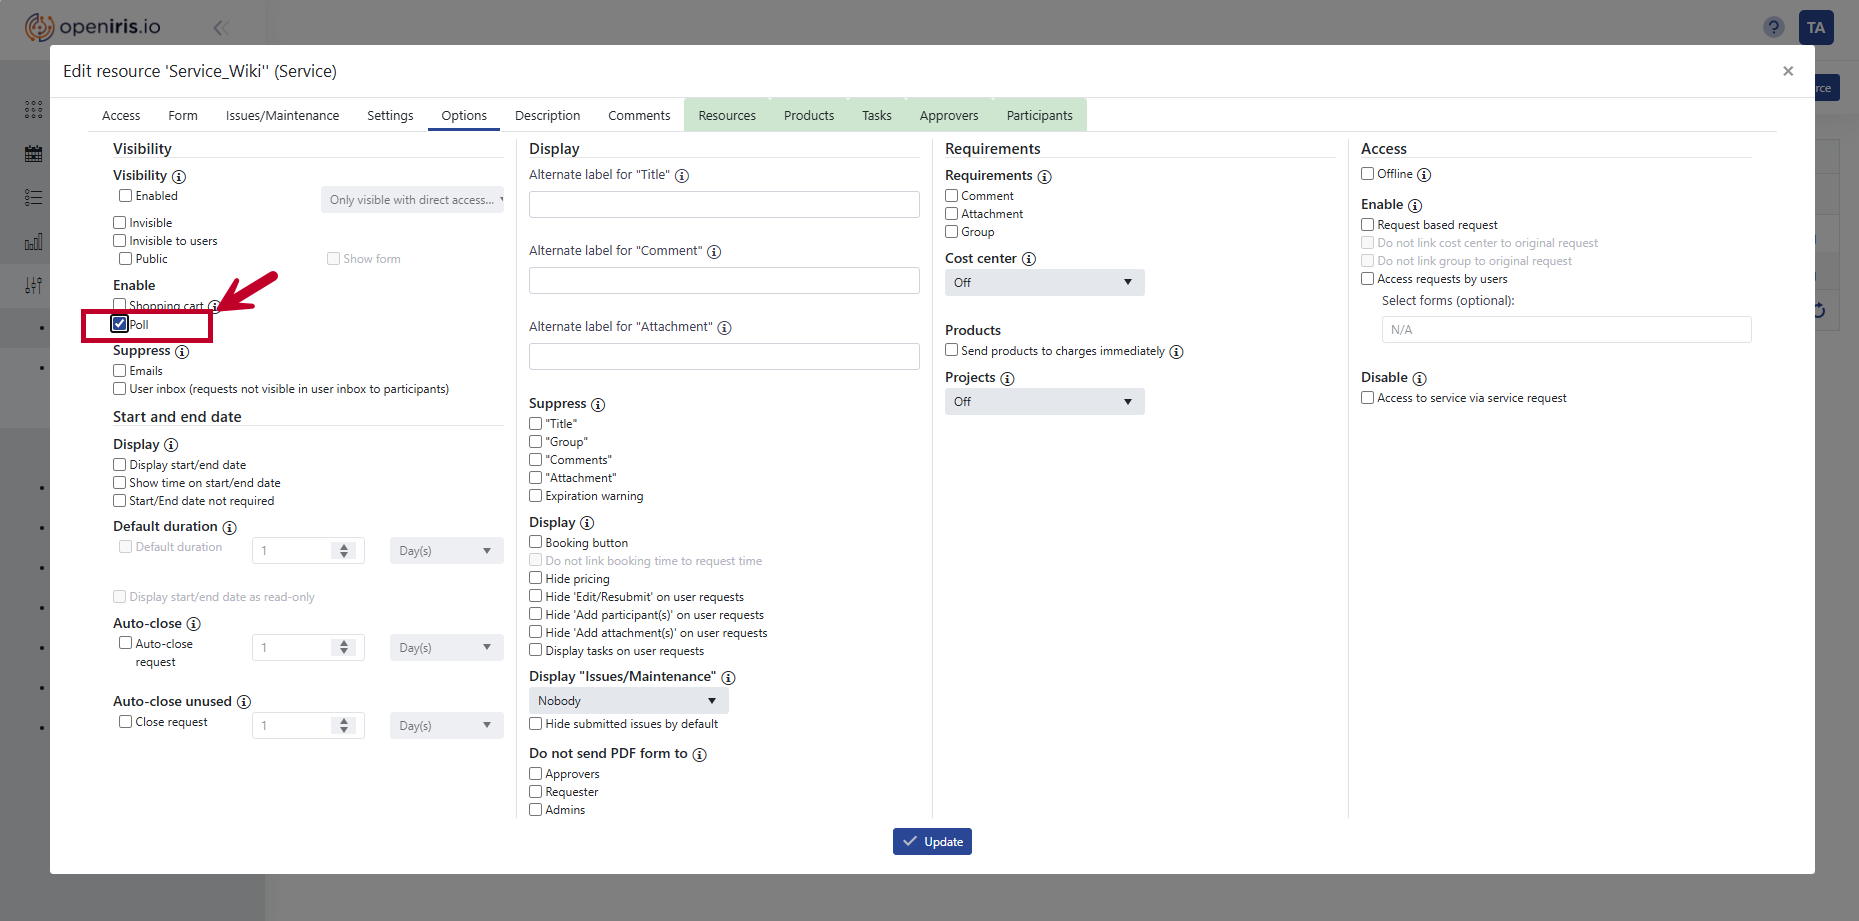
¶ Poll function
If you are interested in organizing project or equipment calls, you can go the Options (tab) and enable the tick box poll. This will cause all submitted requests to be listed under the same service in the Service (menu). However, only admins and users which are listed as participants are able to see submitted suggestions. Regular users are only able to see their own proposals.
 |
|---|
| Activating the poll function for a service |
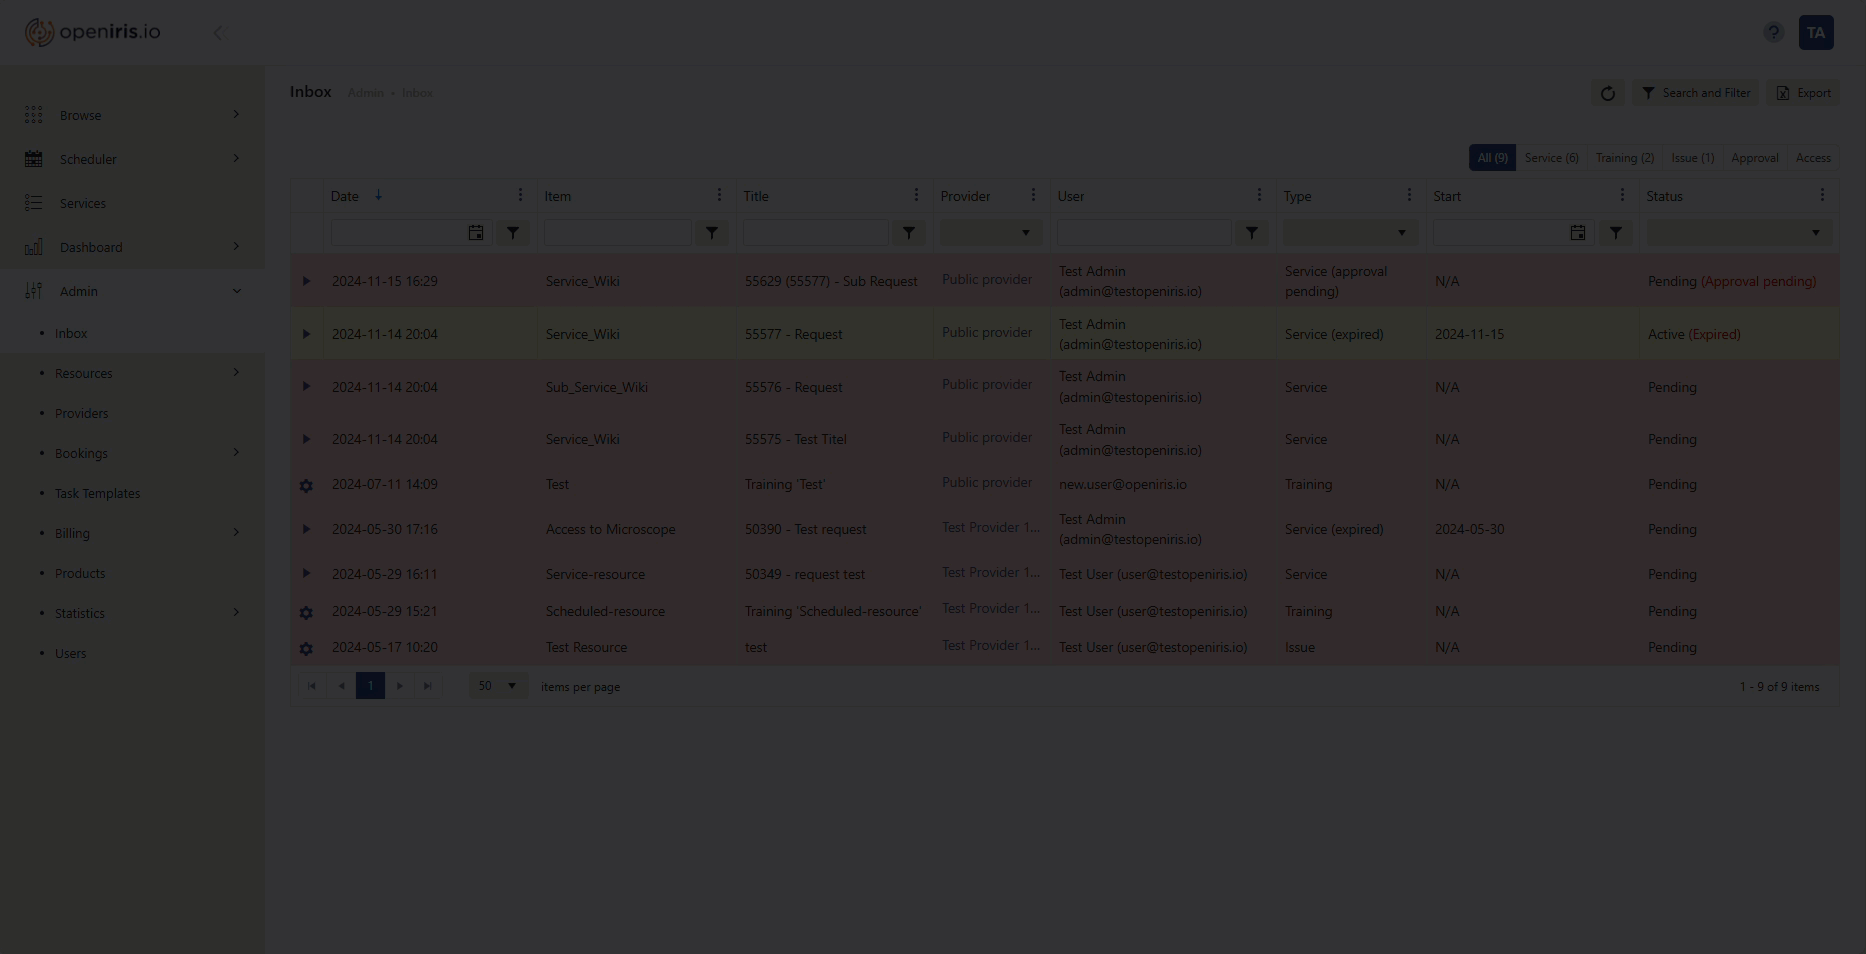
¶ Handling received service requests
Once a service request is submitted, the provider or resource admin(s) will be informed automatically via e-mail. If the option has not been disabled, the e-mail will also contain a PDF file with a copy of the completed form. Additional information about each request can be found in the Admin (menu) > Inbox by clicking on the triangle (symbol) on the left of a specific request. After reviewing the request, admins can click on the Edit - button and set the request to "Active" under the details tab. If the service request is linked to additional resources, these can subsequently be accessed by the user. After the service or project has been finalized, the admin is able to close the request. By using the filter options at the top of the screen (accessible by clicking on the Search and Filter - button) it is possible to display only active—but not closed, discontinued, or rejected items.
 |
|---|
| Setting a service request to active/closed |