Here you will find information to help you get started with the basic features and functions of openiris.io.
The following steps will be further elaborated:
- Register/sign into openiris.io
- First steps after logging into openiris.io
- How to use openiris.io as a user
- How to use openiris.io as an admin
If you have a question about the platform and can not find the answer in this wiki we encourage you to submit a question at the Q&A forum.
¶ How to register/sign-in
If you have never logged into openiris.io before then there are two options for logging in:
For users authenticating the first time on the openiris.io platform, we need to distinguish the two cases:
- Users of institutions that are members of the OpenIRIS Association
- Other users
The following sections describe the two cases in more detail.
¶ Users from member organisations
If your organization is a member of the OpenIRIS Association and authenticated access has been set up, then you can log in using your organizational single sign-on login authentication.
Navigate to openiris.io and click on the Login button. You can then log in using your organizational single sign-on login authentication:
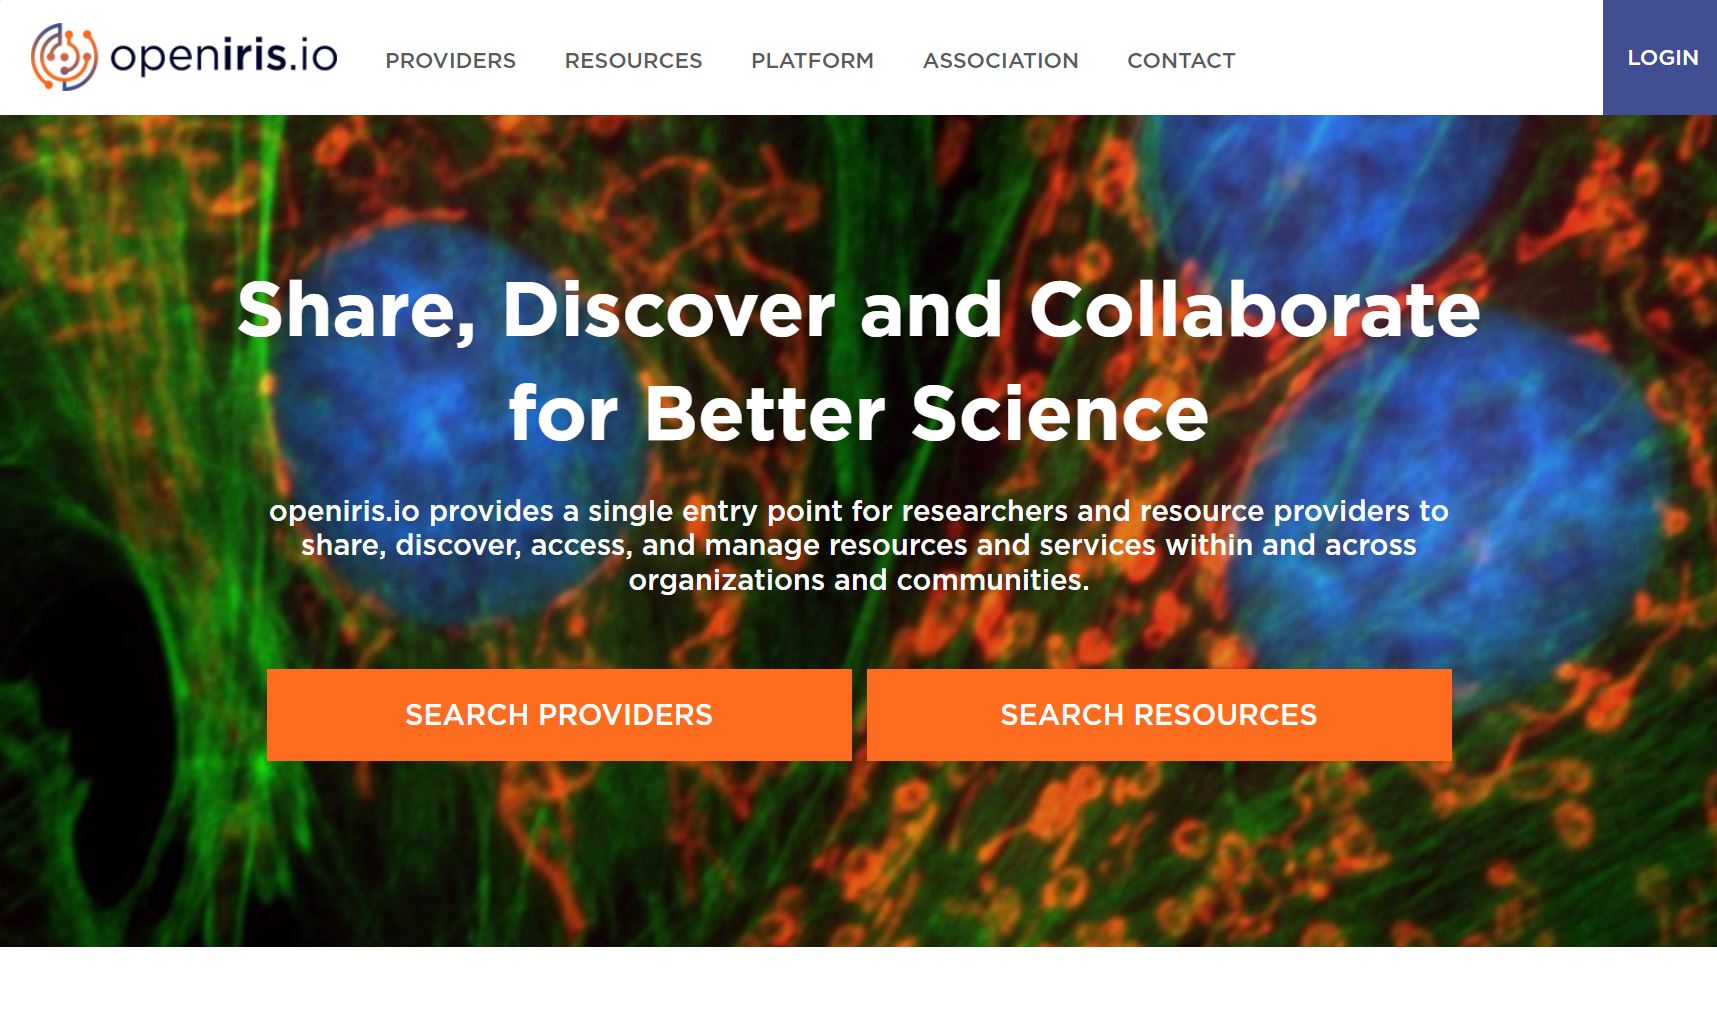 |
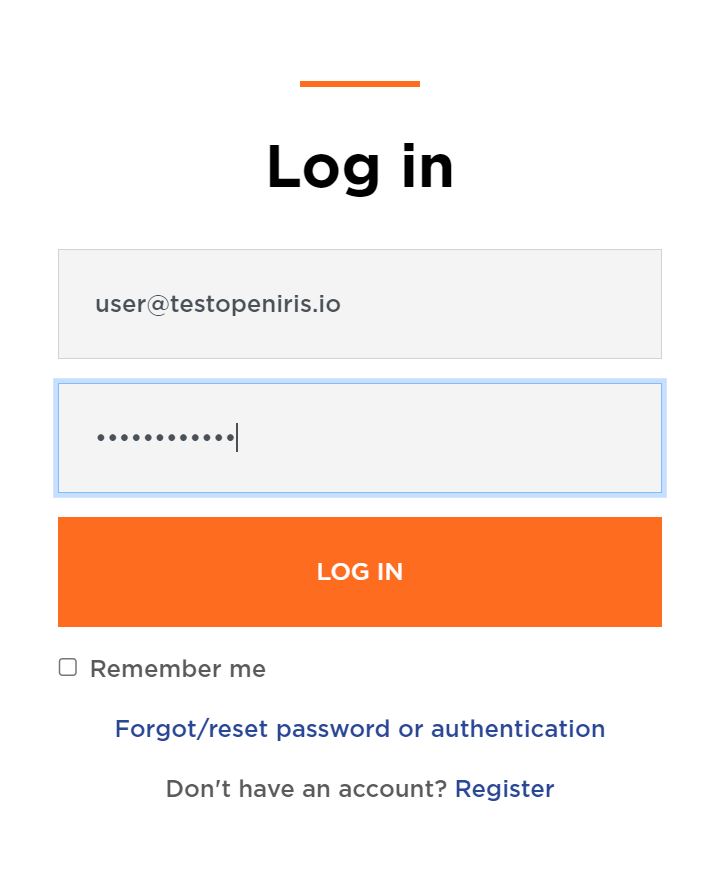 |
|---|---|
| openiris.io Landing page | Login pop-up |
Note on single sign on solutions:
The login process can vary between organizations as some use their organizational single sign-on login authentication.
Note on portals:
Some organizations have custom portal URL's. Therefore the URL you should use to log in will be different from the one stated above. Please contact your organizational OpenIRIS coordinator for further details.
¶ Non-member (individual) users
If the organisation you are affiliated with is not a member of the OpenIRIS Association, you need to register first.
Navigate to openiris.io and click on the Login button. Then click on the Register link at the bottom of the login pop-up. You can then follow the on screen instructions to register your account.
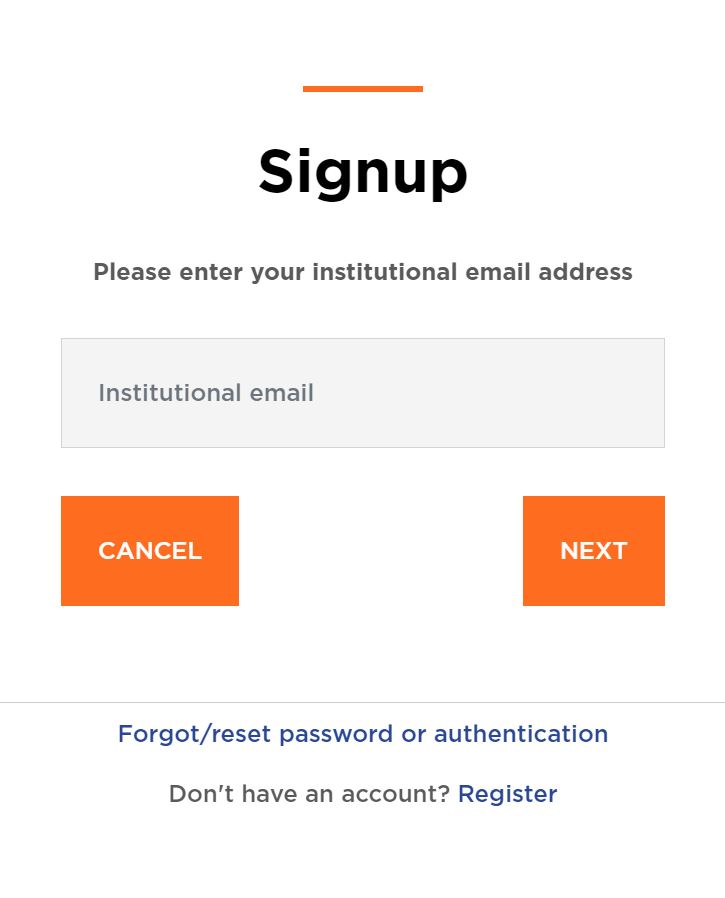 |
|---|
| Register account |
Note: A typical use case are interested users, that would like to access resources/services of a another (member) organization.
¶ First steps
After logging into the platform you will be presented with the following main sections in the main menu:
BrowseSchedulerServicesDashboardAdmin(only if you have admin rights)
¶ Browse
The Browse section consists of the following sub-sections:
Resources
Here you are able to discover all of the resources that are available to you. Resources can either be of the type scheduled (bookable via the Scheduler-section) or service (submit service requests via the Service-section), or event (e.g. lab meetings, seminar series, etc.) or application (e.g. software available on servers/workstations or via download). Resources that you have access to and also those you do not have access to are visible in this section.Providers
Here you are able to discover all the providers that are available to you. You are able to view providers that you have direct access to as well as those that you do not have direct access to.People
Here you can view all the registered users of your organization.Groups
Here you can see the OpenIRIS groups that you are a member of. You can also view all of the other groups of your organization which you can then request to join. If you are able to administer any groups you can access the settings here.Departments/Institutes
Here you can view all the departments/institutes of your organization that you are a member of. If you are able to administer any departments/institutes you can access the settings here.Organizations
Here you can view all organizations you are a member of. If you are able to administer any organizations you can access the settings here.Projects
Here you can see all the projects and the details about the projects that you are a member of. If you are able to administer any projects, this can be done here as well.Communities
Here you can see which OpenIRIS communities you are a member of. If you are able to administer any communities you can access the settings here.
Note: Not all sections may be visible to you. If your organization uses a custom portal then the portal-admin may choose to hide some of the main menu.
¶ Scheduler
The Scheduler section is where resources of the class scheduled are listed. More information about what scheduled resources are can be found here.
The resources you have direct access to or that are visible to you can be found in this section. If you have direct access to a resource then you will be able to see a bookable caldendar field under the resource and can make a booking. If you cannot see a bookable calendar then the resource is visible to you but you have not yet been granted direct access.
There are three different ways a user is able to visualise scheduled-resources:
-
The
Timelinesub-section gives the most comprehensive view of the available resources. Here you can see detailed information about the resource as well as the calendar under each resource. -
The
List (Time)sub-section provides a stacked list of resources where you can see the individual calendars of each resource all together. In this view, the details of each resource are not shown. With this view it is very easy to find a free resource from a list of resources for a desired timeslot. -
The
List (Day)sub-section also provides a stacked list of resources where you can see the avaialbility of resources by day. This view allows the user to get an overview of the availability of a resource based on the day, week or month.
The last sub-section under Scheduler is Bookings. Here you can get an overview of all your bookings across all Providers.
¶ Services
The Services section is where resources of the class service are listed. In openiris.io, services are requested via requests. More information about what service resources are can be found here.
The service requests you have access to or that are visible to you are found in this section. service requests cannot be booked but rather requested. Instead of booking a service, you submit a request to the provider of interest.
¶ Dashboard
The Dashboard section is where users can get an overview of their service requests, tasks, and their personal information.
The Dashboard consists of the following sub-sections:
Inbox
This page provides an overview of all the service-requests, training-requests, issues, approval-requests and access-requests you have submitted or you have received.Orders
Here you can keep, collect and manage orders of consumables in a group.Tasks
Here you can view all the tasks that have been assigned to you.Personal Overview
Here you can view your bookings and tasks in a calendar view.Memberships
Here you can get an overview of all the memberships you have, which range from group memberships, provider memberships and organization memberships.
¶ Admin
The
Adminsection is only visble to provider-admins and portal-admins.
The Admin section is where provider-admins are able to administer all aspects of their resources and offers options on how to effectively govern them.
The Admin section consists of the following sub-sections:
Inbox
TheAdmin > Inboxprovides an overview of all the service-requests, training-requests, issues, approval-requests and access-requests for the providers you administer.Resources
Here you can view all the resources, that you are able to administer. The settings of each resource can be accessed here.Providers
Here you can view all the providers that you are able to administer. The settings of each provider can be accessed here.Bookings
Here you can get an overview of all the bookings for the scheduled-resources for the providers that you are able to adminster. You are also able to create booking-restrictions for the scheduled-resources in the respective sub-sections in the menu.
Task Templates
Here you can view all the task-templates that you can administer. You can also create new task-templates here.Billing
Here you are able to set-up all the pricing policies for your scheduled-resources. You are also able to get an overview of all the charges for the provider/s that you are able to administer. You are also able to perform invoicing and create quotes in this section.Products
Here you can view all of the products that are registered for the providers you administer. You can also create new products in this sub-section.Statistics
You are able to retrieve statistics on the scheduled-resources as well as service-resources for the providers you administer in the respective sub-sections of the menu.Users
Here you you can get information on who the users of a specific provider are.
¶ Profile settings
The details about your personal setting can be found under the Login button > Profile. Here you can see information about your user account and your personal information, your memberships and you are also able to set certain preferences.
¶ User guides
More detailed information on how to utilise resources as a user can be found in the User guide.
¶ Administrator guides
More detailed information on how to administor your portal, organizations, insitutes/departments, groups, providers and resources can be found in the Admin guide.